




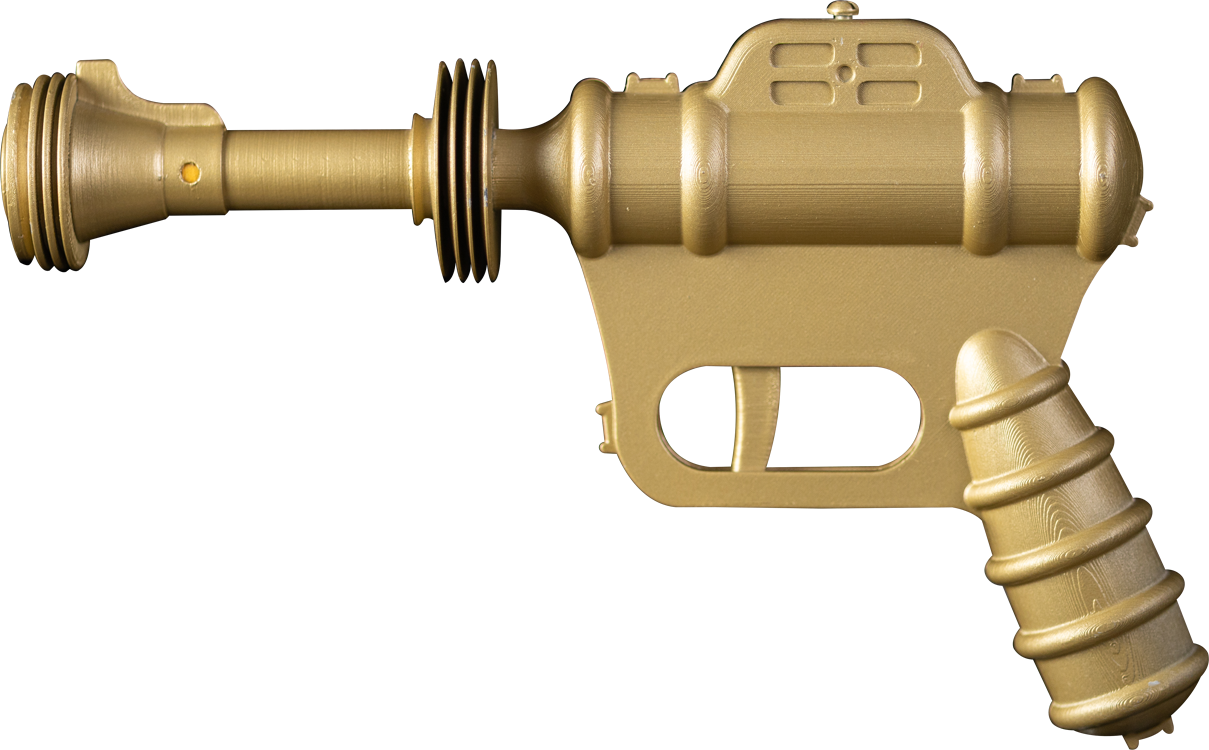


Props 3D Buck Rogers Atomic Ray Gun
A classic toy from the 1940s this gained popularity when it was featured on the cover of a Foo Fighters album. I just loved the retro design and couldn’t resist designing my own. The original produced sparks you could see in the top windows using a flint.

1 Glue the Body
- BuckRogersRay_RecieverR_V1
- BuckRogersRay_RecieverL_V1
- 6mm 1.75 pieces of filament X6
- Insert the filament pins into the holes of one side of the receiver
- Insert the trigger into the slot
- Put glue in an even layer on the other side of the receiver
- Using the pins to index, glue the two sides together

2 Assemble the Rings
- BuckRogersRay_Barrel Ring1_V1
- BuckRogersRay_Barrel Ring2_V1
- BuckRogersRay_Barrel Ring3_V1
- BuckRogersRay_Barrel Ring4_V1
- Glue the 4 barrel rings together, ring 4 is at the front and the other 3 are the same.

3 Build the Muzzle
- BuckRogersRay_Muzzle_V1
- BuckRogersRay_MuzzleRing1_V1
- BuckRogersRay_MuzzleRing2_V1
- BuckRogersRay_MuzzleBack_V1
- 8mm 1.75mm filament pieces X3
- Insert the filament pieces into the back
- Put a layer of glue on each piece and slide them onto the pins (MuzzleRing1 and 2 are the same)

4 Finish the Barrel
- BuckRogersRay_Barrel_V1
- Glue the front and back onto the main barrel, orientation doesn’t matter.

5 Attach the Barrel
- Glue the barrel on the body, be careful to get it the right way

6 Add the Screw
- BuckRogersRay_Screw_V1
- Glue the screw in and the angle of your choice

7 Put it in the Stand
- BuckRogersRay_Stand_V1
- Done! Ready for paint and display


